Wrap a List Control in a Window Container.
Description
You can use a window container to display a list control filled with data generated from an SQL database. The list control can also be easily formated using pre-defined templates.
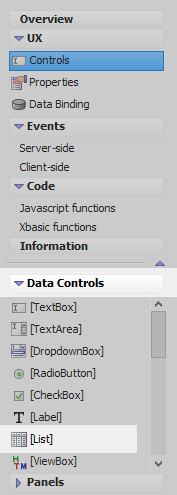
In the UX Builder on the UX Controls page open the 'Data Controls' menu. Click on the [List] option to add a list control to the component.
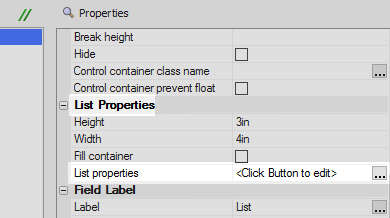
Highlight the list control in the controls tree. In the property list on the right scroll down to the List Properties section and click the [...] button next to the 'List properties' property to open the list builder.
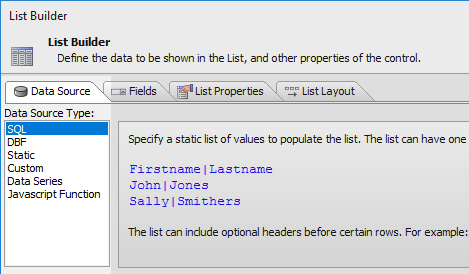
On the List Builder's 'Data Source' pane, select 'SQL' in the 'Data Source Type' menu.
Click the [...] button next to the 'Connection string' property in the 'SQL Data Source' section of the properties shown on the 'Data Source' pane.

Select or create a connection string to the 'Northwind' database. Click OK to return to the Data Source pane.
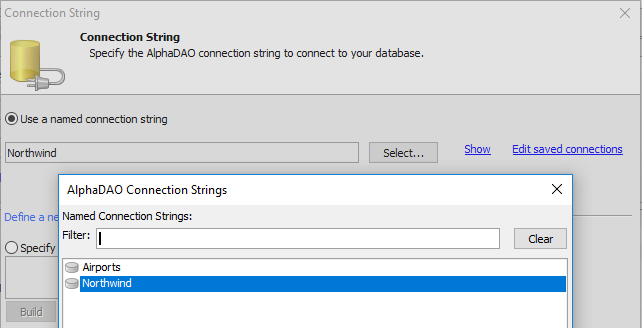
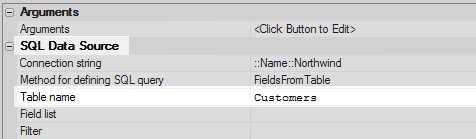
Click the [...] button next to the 'Table name' property and select the 'Customers' table.
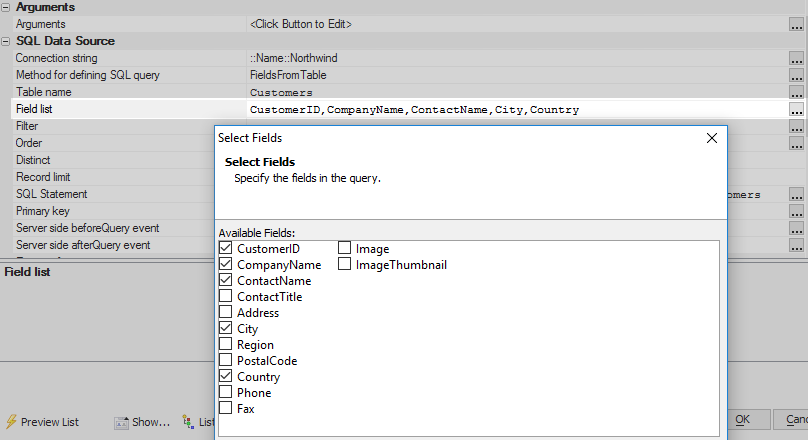
Click the [...] button next to the 'Field list' property. Check the 'ContactName', 'City', 'Country, 'CompanyName', and 'CustomerID' field checkboxes.
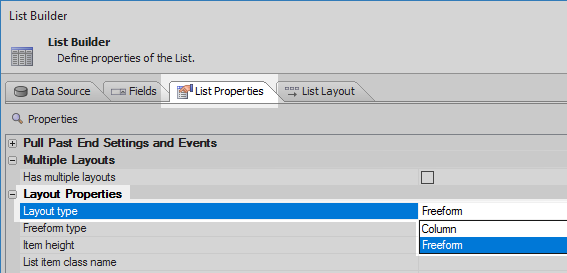
Open the 'List Properties' pane. Scroll down the list to the 'Layout Properties' section. Click the dropdown next to the 'Layout type' property and select the 'Freeform' option.
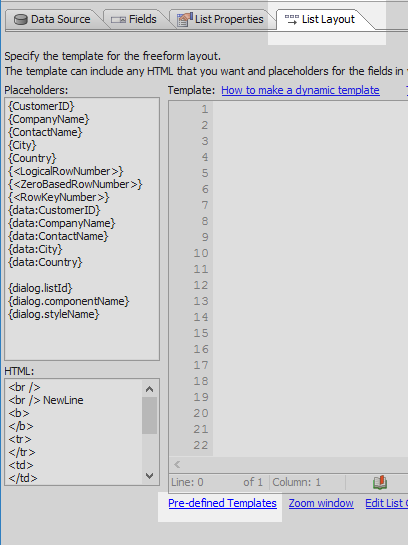
Open the 'List Layout' pane. The pane should appear in free-form mode. Click the 'Pre-defined Templates' hyperlink at the bottom of the pane.
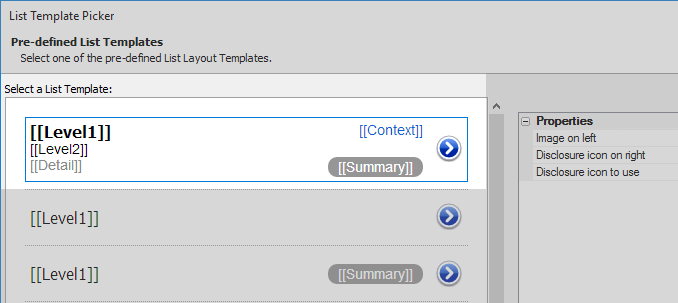
A list of possible templates will appear. Select the first option from the list and click OK.
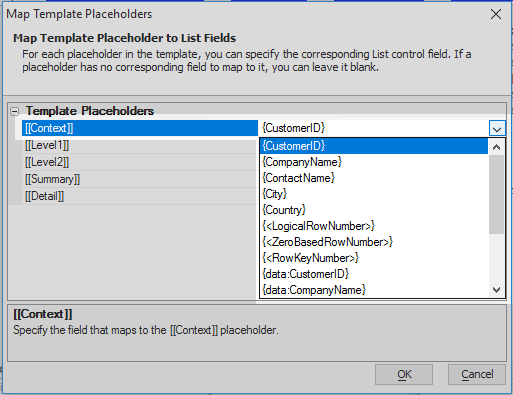
A 'Map Template Placeholders' dialog will appear. Click the dropdown next to the [[Context]] placeholder and set it to be {CustomerID}.
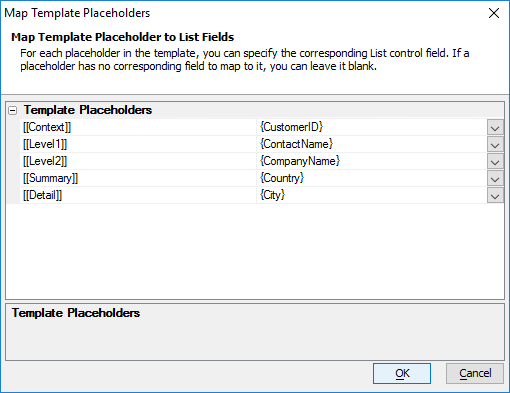
Assign the remaining placeholders. Set [[Level1]] to the {ContactName} placeholder, [[Level2]] to the {CompanyName} placeholder, [[Summary]] to the {Country} placeholder, and [[Detail]] to the {City} placeholder. Click OK and OK again to close the List Builder.
With the list control still highlighted in the controls tree open the 'Containers' menu and click on the [Container] option.
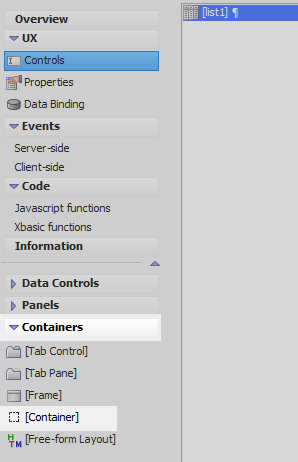
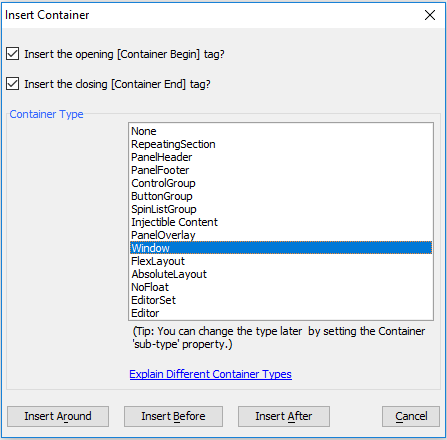
From the 'Container Type' list select the 'Window' option and click the 'Insert Around' button.
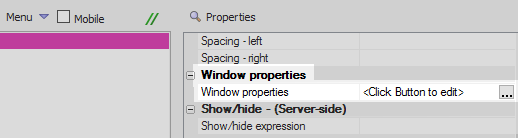
Highlight the opening window tag in the controls tree, '[Window:WINDOW_1]'. In the properties list click the [...] button next to the 'Window proeprties' property in the Window Properties section.
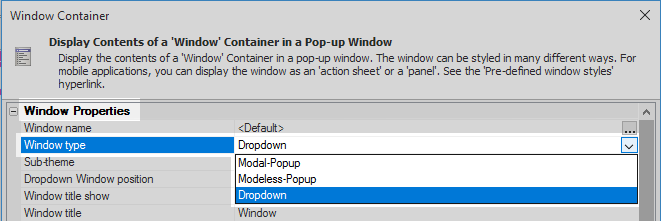
In the Window Container dialog set the 'Window type' to be 'Dropdown'.
Click the [...] button next to the 'Dropdown Window position' property and set it to 'Relative'
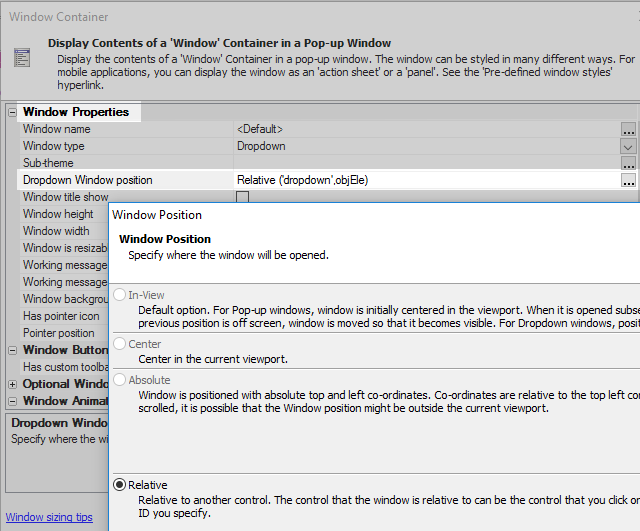
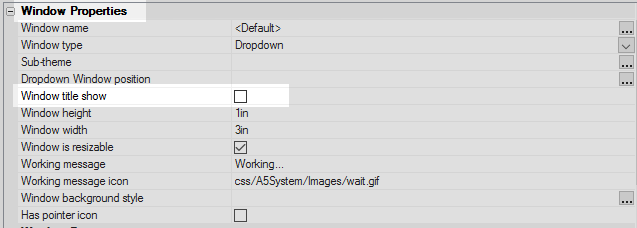
Uncheck the 'Window title show' checkbox.
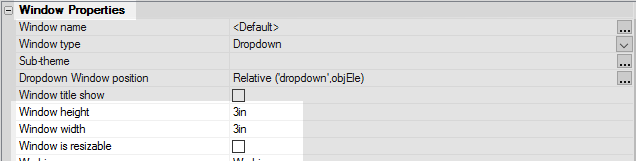
Set the 'Window height' and 'Window width' properties to 3in and uncheck the 'Window is resizable' checkbox.
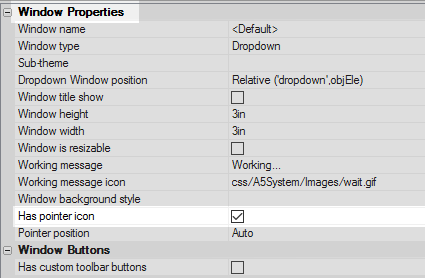
Check the 'Has pointer icon' checkbox and click OK to close the Window Container dialog.
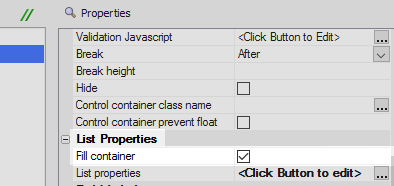
Highlight the list control again and again scroll down to the 'List Properties' section. Check the 'Fill container' checkbox.
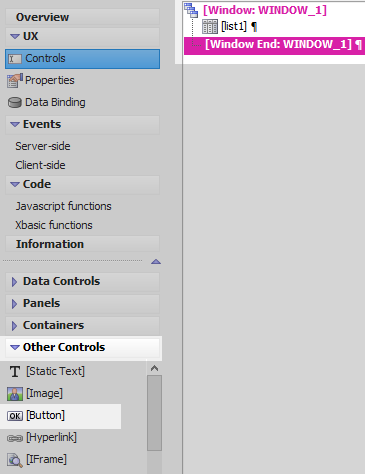
Highlight the [Window End: WINDOW_1] tag in the controls tree. Open the 'Defined Controls' menu and click the [Button] option to add a button control to the component.
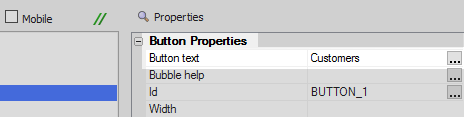
Highlight the button control. In the button's properties list on the right set the 'Button text' to read 'Customers'.
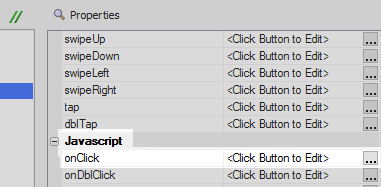
Scroll down the properties list to the 'Javascript' section and click the [...] button next to the 'onClick' property.
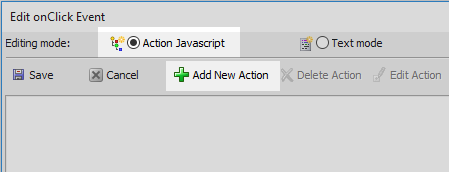
In the 'Edit onClick Event' dialog set the editing mode to 'Action Javascript'. Click the 'Add New Action' button.
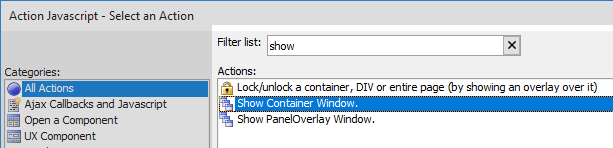
The 'Select and Action' dialog will open. Type 'Show' into the filter list and then select the 'Show Container Window' action. Click OK
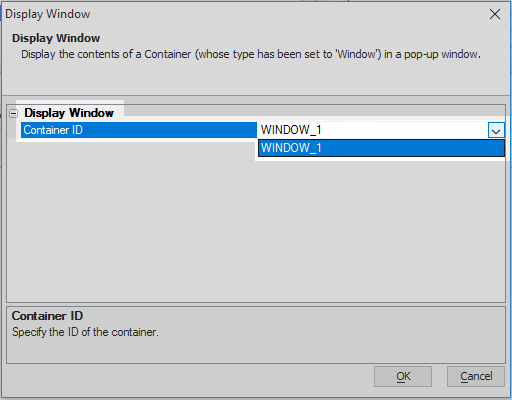
Click the dropdown next to the 'Container ID' property and select the window container you previously defined, 'WINDOW_1'. Click OK, OK, and 'Save'
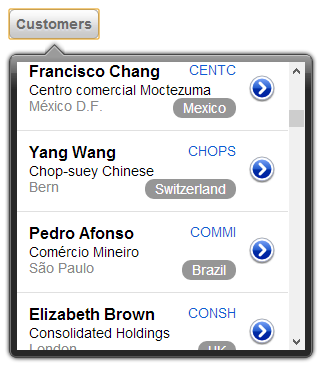
Run the component in live preview and click the 'Customers' button. The list control should be displayed.
See Also